Advertisements

Lopaka Basics: Design Screens for Arduino & ESP32

Advertisements
Draw screens for OLED, TFT and e-paper displays in your browser and run the code on Arduino and ESP32
1
1/5
(59) Ratings
34 students
Created by Mikhail Ilin
Advertisements

What you'll learn

  • Design screens for OLED, TFT and e-paper displays in your browser with Lopaka
  • Turn a drawn screen into ready Arduino code and run it in the free Wokwi simulator
  • Understand pixels, coordinates, fonts, icons and how much memory each one costs
  • Build color dashboards, live sensor screens, menus, animations and LVGL touch UIs
  • Take one screen design to Arduino, ESPHome, MicroPython, CircuitPython and Flipper Zero
  • Upload to a real Arduino and fix the five common reasons an OLED stays black
This course includes:
37 total mins on-demand video
0 articles
0 downloadable resources
10 lessons
Full lifetime access
Access on mobile and TV
Certificate of completion
Advertisements

Course content

Requirements

  • No programming or electronics experience needed: everything is explained from scratch
  • A computer with a modern web browser. Lopaka and the Wokwi simulator are free and run online
  • Optional: an Arduino Uno or ESP32 with a small display to try your screens on real hardware

Description

This course contains the use of artificial intelligence.

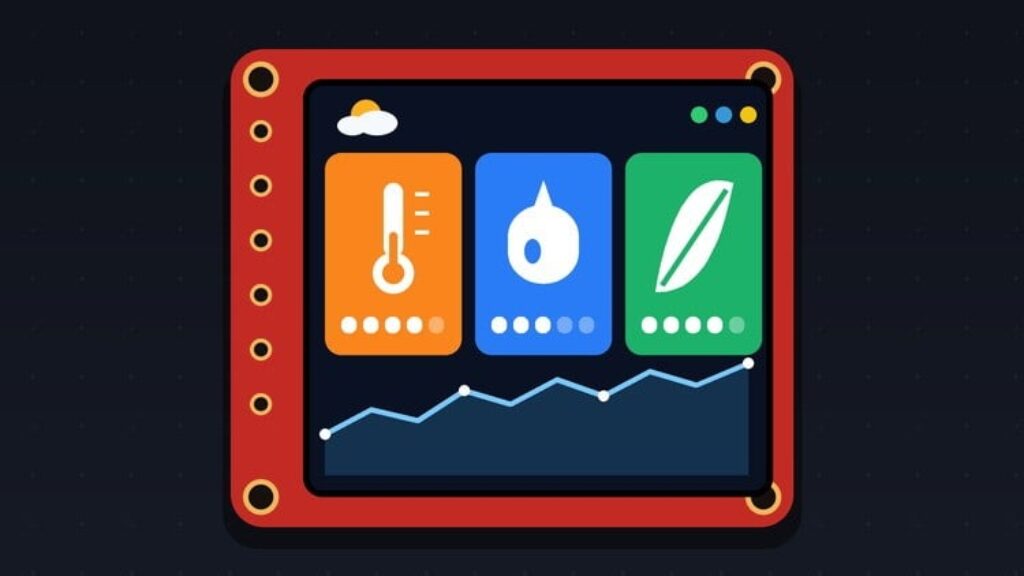
Almost every gadget has a small screen, and someone had to draw it. Lopaka Basics is a free, beginner-friendly course that shows you how to design graphical screens for microcontrollers in your browser and turn them into working code, without hand-coding every pixel.

You’ll use Lopaka, a free online editor for embedded displays. Draw your screen with shapes, text, icons and images, and Lopaka writes the code for popular libraries such as U8g2, Adafruit GFX, TFT_eSPI and LVGL. Every result runs in the free Wokwi simulator, so you don’t need any hardware to follow along. If you have an Arduino Uno or an ESP32, you can run the same code on a real board.

Each lecture is a short, focused project. Along the way you’ll learn how small screens really work: a display as a grid of pixels, coordinates, fonts and baselines, Flash and RAM, RGB565 color, frame buffers and flicker, I2C wiring, animation frames and e-paper refresh.

What you’ll build:

– Your first screen on a 128×64 OLED

– A morning dashboard with fonts, icons and your own picture

– A color living room dashboard on a TFT display

– A live sensor monitor that doesn’t flicker

– A gadget menu with two buttons and four screens

– A GIF animation on a tiny OLED

– A phone-like touch interface with LVGL on an ESP32

– One screen design running on Arduino, ESPHome, MicroPython, CircuitPython and Flipper Zero

– A meeting room sign on a 2.9″ e-paper display

No programming or electronics experience is needed. All you need is a computer with a web browser.


Who this course is for:

  • Beginners who want to add a screen to their first Arduino or ESP32 project
  • Makers and hobbyists tired of hand-coding display graphics pixel by pixel
  • Embedded developers who want a faster way to design UIs for small displays
Advertisements
FREE
Advertisements
Advertisements
Free Online Courses with Certificates
Logo
Register New Account